This was a hobby project using BricsCAD.
I have a motorbike – a 1976 Moto Guzzi 850 Le Mans. This is a lovely bike – simple reliable motor, impeccable handling, classic style. Although it’s heavy, it’s compact, no bigger than a japanese 350. Lino Tonti designed the simple frame using mostly straight tubes.
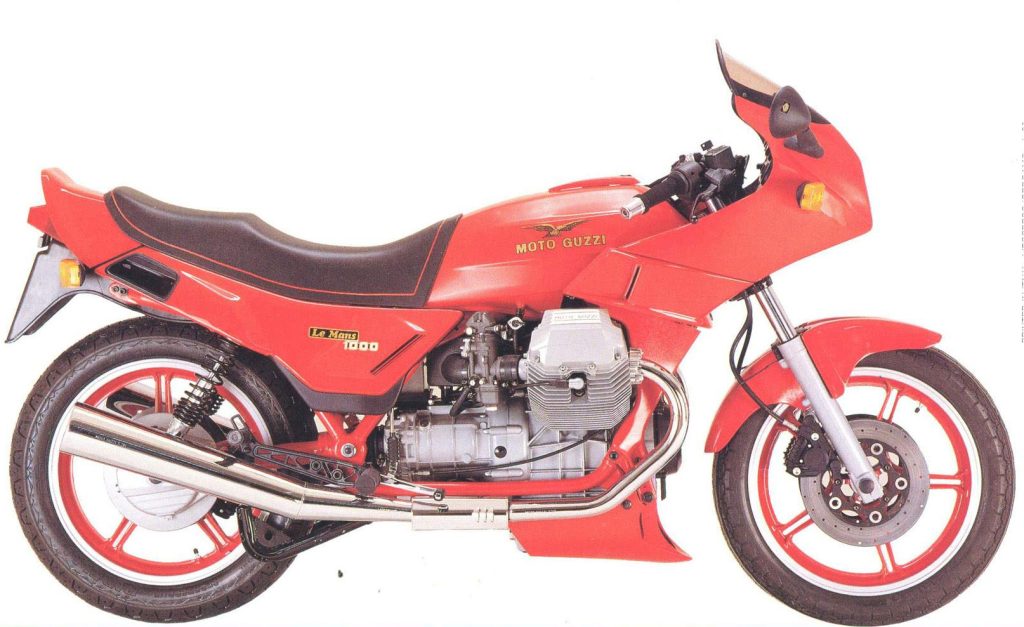
Over the years, Guzzi ‘improved’ the Le Mans. I bought a 1984 ‘1000 Le Mans Mk 4’. It was cheap! What do you get?
– increased engine capacity of 949 cc
– bigger valves and a compression ratio of 10.2:1,
– 40 mm pumper carbs up from 36 mm.
– the B10 camshaft from the original Le Mans race kit.
It’s a hot-rod! But it’s so ugly!
Guzzi then dressed the 1000 with a frame-mounted fairing, a brick-shaped tank, and a redundant belly-pan. Instead of a cafe racer, it became a land yacht! The stylists made it very tall at the front and the rear, with the rider sitting in a dip. A new, high, front mount for the petrol tank looks like it was welded on by the apprentice at 5pm on a Friday night. The Tonti frame is mostly hidden, but it’s still there!
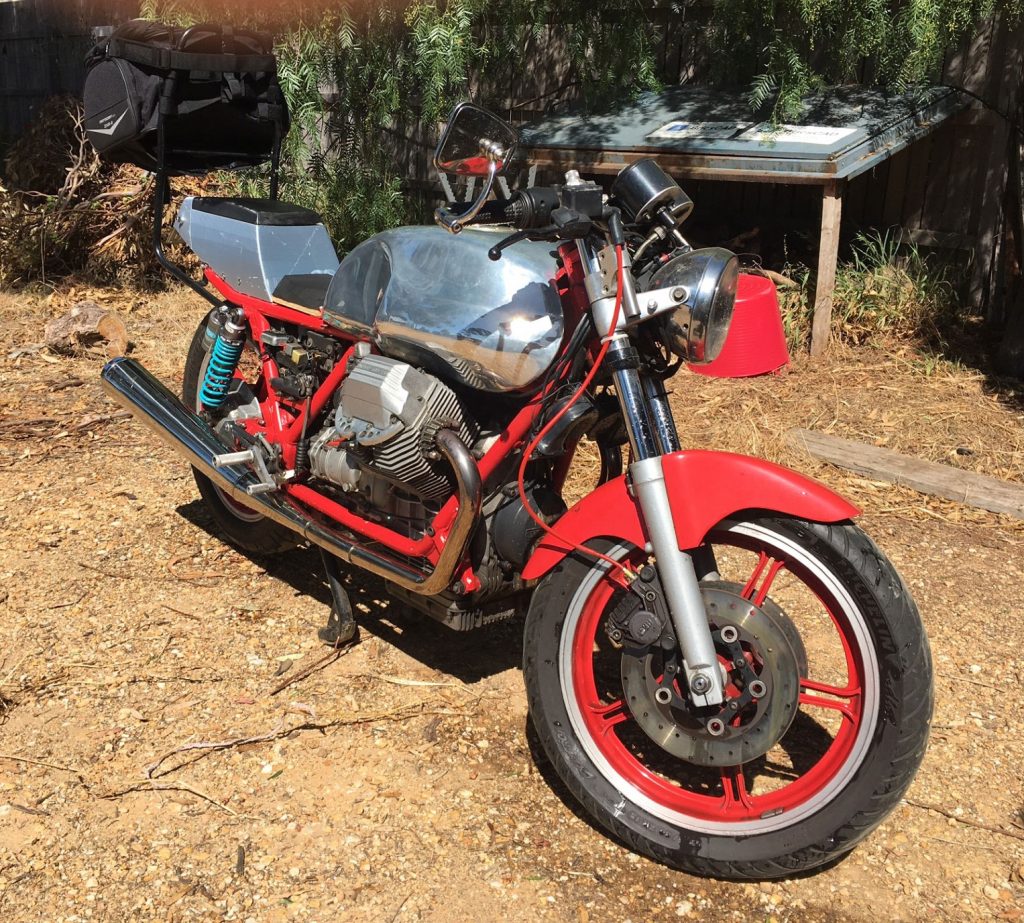
When I bought this bike, the previous owner had already removed the frame-mounted fairing. I decided to change other parts. I bought a big alloy tank, Tarozzi rear-set foot controls, and clip-on handlebars.
I needed to make a tail-box, so I created a model in BricsCAD.
The front slope of my tailbox forms a seat-back or ‘bum stop’. Underneath, the tailbox shape creates a rear mudguard. Counter-sunk bolt holes provide a mounting point to the frame. A separate tail-cone part is glued on, and contains the tail-lights and LED turn indicators. (I made this tail-cone separately because the full tailbox model is a bit too big for my 3d printer. Also, printing it seperately reduces the amount of temporary ‘scaffolding’ that the printer would need to make. )
The wires and connectors for the lights – stop, tail and turning indicators, are protected from rain and road dirt inside the box. A small toolbag can sit in there as well. A sliding lid closes the top. The tail-light bracket also holds the license plate.
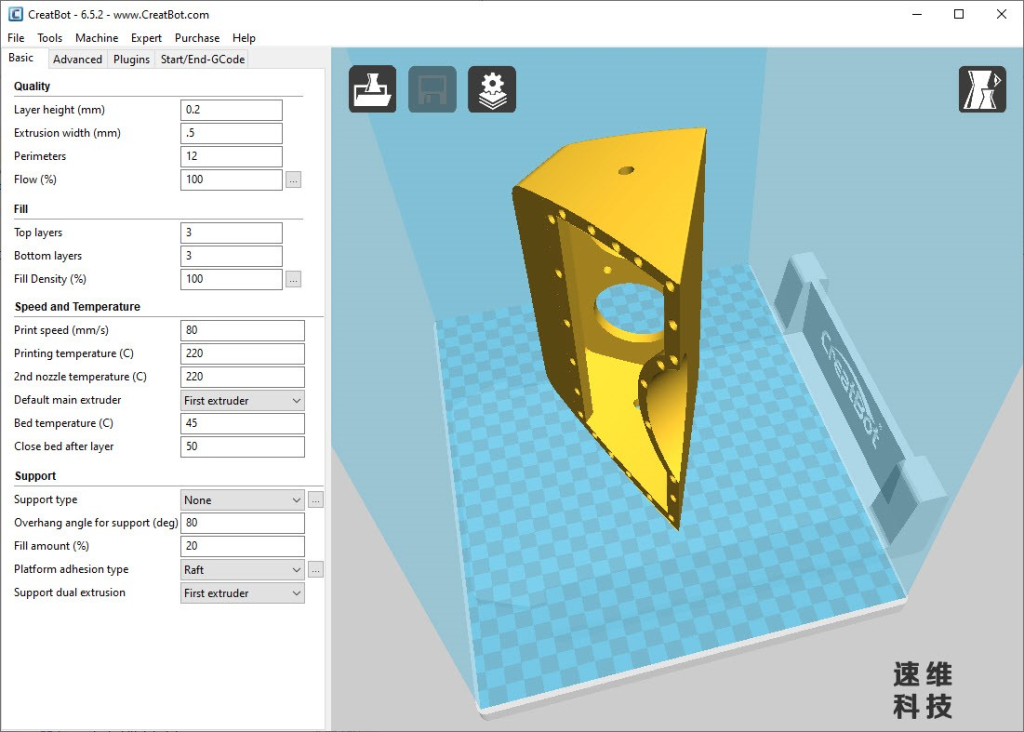
Here’s a snap of the CreatBot 3D printing application, ready to print the tail-cone.
Set FACETRES to 10 for a smoother model!
Well, I don’t think I’ll win any prizes for my design, but this exercise shows what can be done with BricsCAD!
Client Info
Name: Damian
Date: 17 March 2023
Project type: Multipurpose Design


